Setting Up Nix on a Macbook the Boring Way
Do you want to try nix on your Macbook? Is time a finite resource for you? Do you value getting straight to the point? Well, let’s dive in.
1. Install Nix Package Manager
The most up to date instructions are on the nixos.org website. You will get some kind of curl command like the following:
sh <(curl -L https://nixos.org/nix/install)
When you run the command it will ask you a couple of prompts.
You will need to give it sudo access to install.
After the script runs you can confirm installation with:
$ nix --version
nix (Nix) 2.18.1
2. Install Nix Darwin
Now, we want nix darwin. Nix darwin provides nix modules for managing darwin based machine. Think of it as an addon. The latest installation instructions can be found on the github repo:
nix-build https://github.com/LnL7/nix-darwin/archive/master.tar.gz -A installer
./result/bin/darwin-installer
This first prompt should ask you to edit the default config, I answer no. The second prompt will as you to manage darwin with channels, I answer yes. If you say no to managing darwin with channels it will fail. Understanding why is not a boring topic. Once the script succeeds make sure to quit your terminal and start a new one.
3. Install Your First Package
Now we can add packages by modifying vim ~/.nixpkgs/darwin-configuration.nix
We’ll add the lf package by updating some commented out code:
  environment.systemPackages = with pkgs; [
    lf
  ];
Now you run darwin-rebuild switch to rebuild your nix setup and restart the nix daemon.
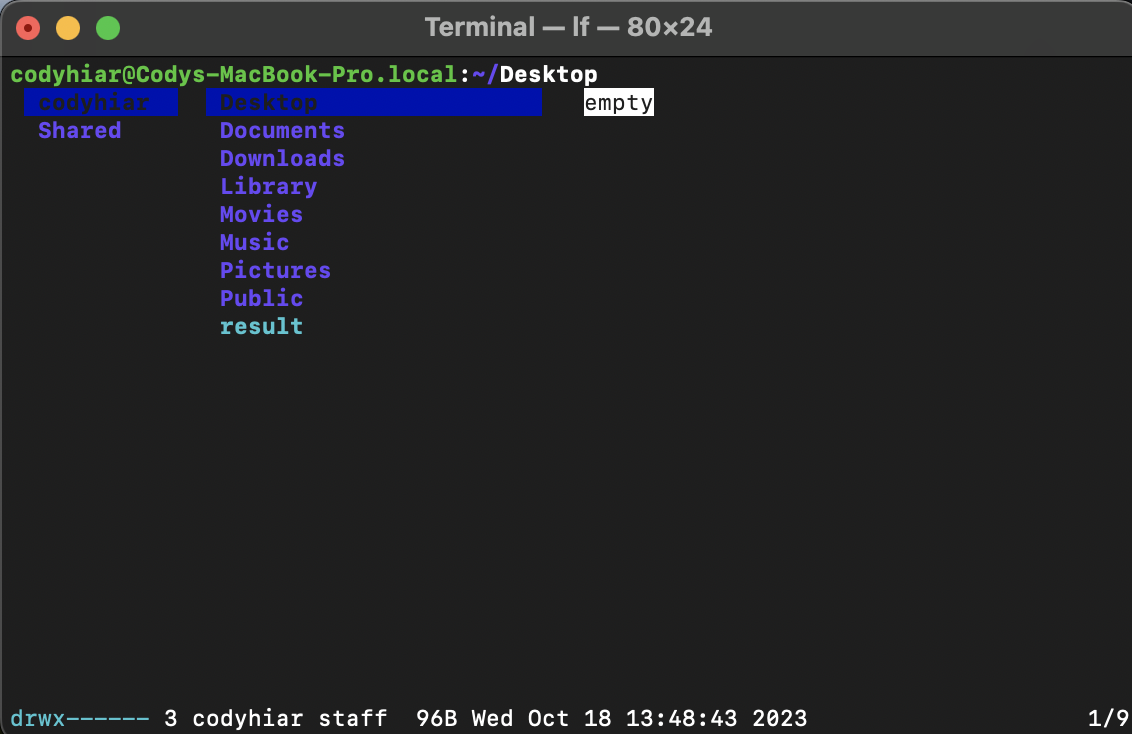
Now you can run lf and see something like the following:
Installation complete! Happy Nixing!